Tuesday, May 28, 2019

License plate relocate

The factory license plate is a bit...well...'legal'. It does the job for a touring bike with saddle bags, but not exactly what I am looking for. Motus made an updated license plate bracket with extra stiffeners to prevent breakage, a common issue. I moved this improved bracket to my MST-R and went on to a different type for this bike.

The factory plate holder sticks out a bit far for my taste on the naked bike.

A plate holder was picked up from ebay that does the trick. The unit looks great with all types of adjustments...until you get it. The adjustments are minimal and the gent who came up with the design needs to go back to school and learn how to make things more modular.


The original plate is tucked up under the tail, so a couple of standoffs were used to space the new holder cross piece away from the body a bit. A new cross piece was fabricated and painted as the original that came with the unit was not wide enough. Easy fab work.

The factory wiring was attached and a Deutsch connector was put in for the license plate light. All is working and looks much better. Not at all the 'please pull me over' location that some sport bike guys use. Could be mistaken as factory if you didn't know any better.

Wednesday, May 1, 2019

Swedish Butt Jewelry

A little swag trade ended up with a brand new Ohlins TTX shock that is found on the MST-R bikes from the factory. The MST ships with Ohlins forks and a progressive rear shock. Quality shocks, but the low speed bump compliance of a Ohlins is unmatched.

 The factory shock and linkage is an easy removal- take off the tank, unbolt the shock, link, and pivot while the bike is on the center stand...pull out of the frame from above.

The Ohlins is not nearly that easy...notice the 'mini-me' reservoir at the top. That gets in the way of EVERYTHING.

 The tire must come off, then the suspension pivots removed. The swingarm is lowered enough to slide the shock in, bolt the suspension pivot on later. 
Wait, didn't I ~just~ do this?

While you are at it: try once, twice, and for fun take things back apart to get it right. It's a bit of a puzzle to get it all to fit in the correct order and be able to get all the bolts in and nuts on.

Lucky I have an R for visual reference. It's tight.

Yep, get someone who can fit their fingers in there to adjust the comp and rebound clickers.

Damn, they must of designed the bike around the rear shock. Everything works great, but there is not much leftover room.

Be aware of the remote preload adjuster routing. There are a few moving parts in the path that it wants to take to get to the mounting tab. The progressive and Ohlins remote mount to the same tab, but with different screws.

Monday, April 22, 2019

First ride

The bike came out much better than expected. I am very happy with the overall outcome and the bike rides amazing. This was to replace my recently sold Ducati Diavel and does so perfectly. 

I put the re-painted panels back on the tank, mounted and adjusted the bar end mirrors, and took it for it's first ride. The sound is amazing and not overly loud. Very happy.

What's next? The license plate holder is getting a remodel...I'll be fabricating something more abbreviated. 


Gearing change

The Motus gearing is quite tall. The low engine redline in combination with a desired top speed has the stock gearing too tall for around town. The goal for this bike was to take the gearing down to a more 'around town' level.

The original chain had one link ground off to take the transmission off. Normally you would pull the counter shaft sprocket to remove the swing arm, but I was changing the gearing anyway. The stock chain was not long enough to work with the larger rear sprocket. 


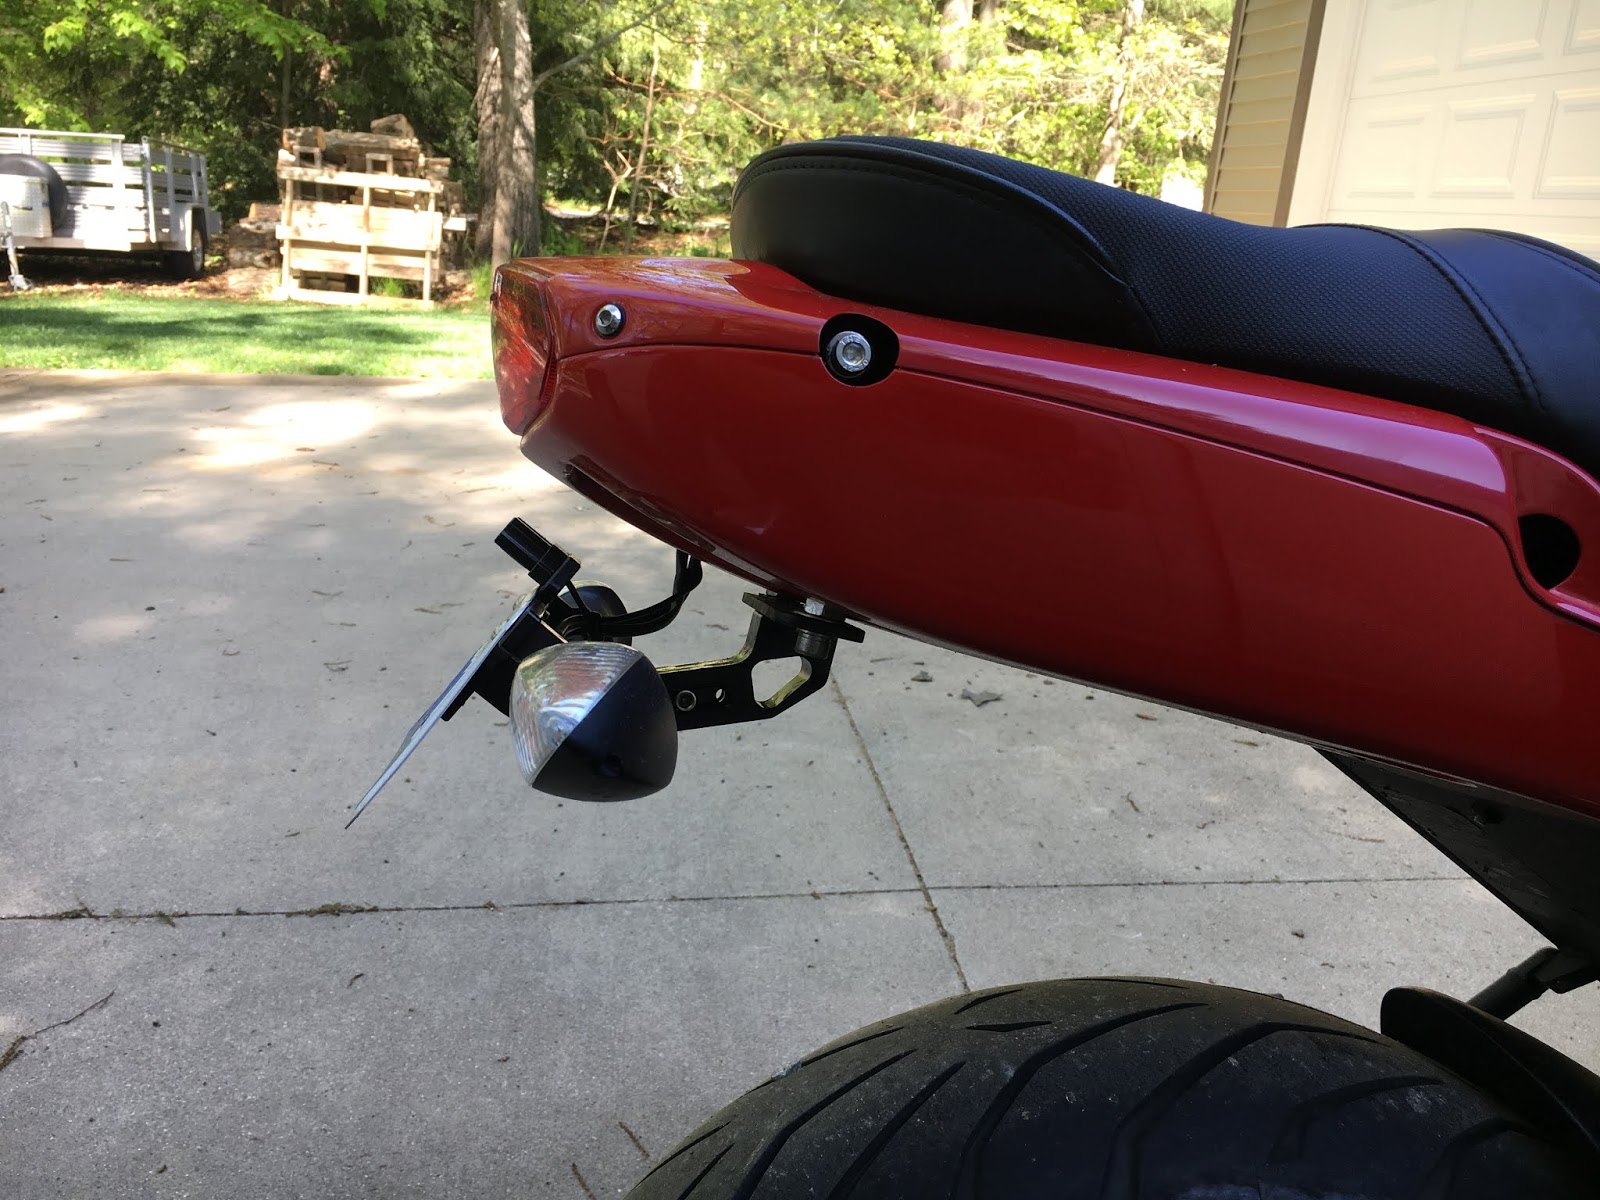
The stock gearing is a 41 tooth rear. I updated to a 43 tooth rear which will give the bike better manners around town, but will also run at a higher RPM at highway speed.

The front sprocket is 16 tooth from the factory. There is not much clearance to change this sprocket size and was left alone.


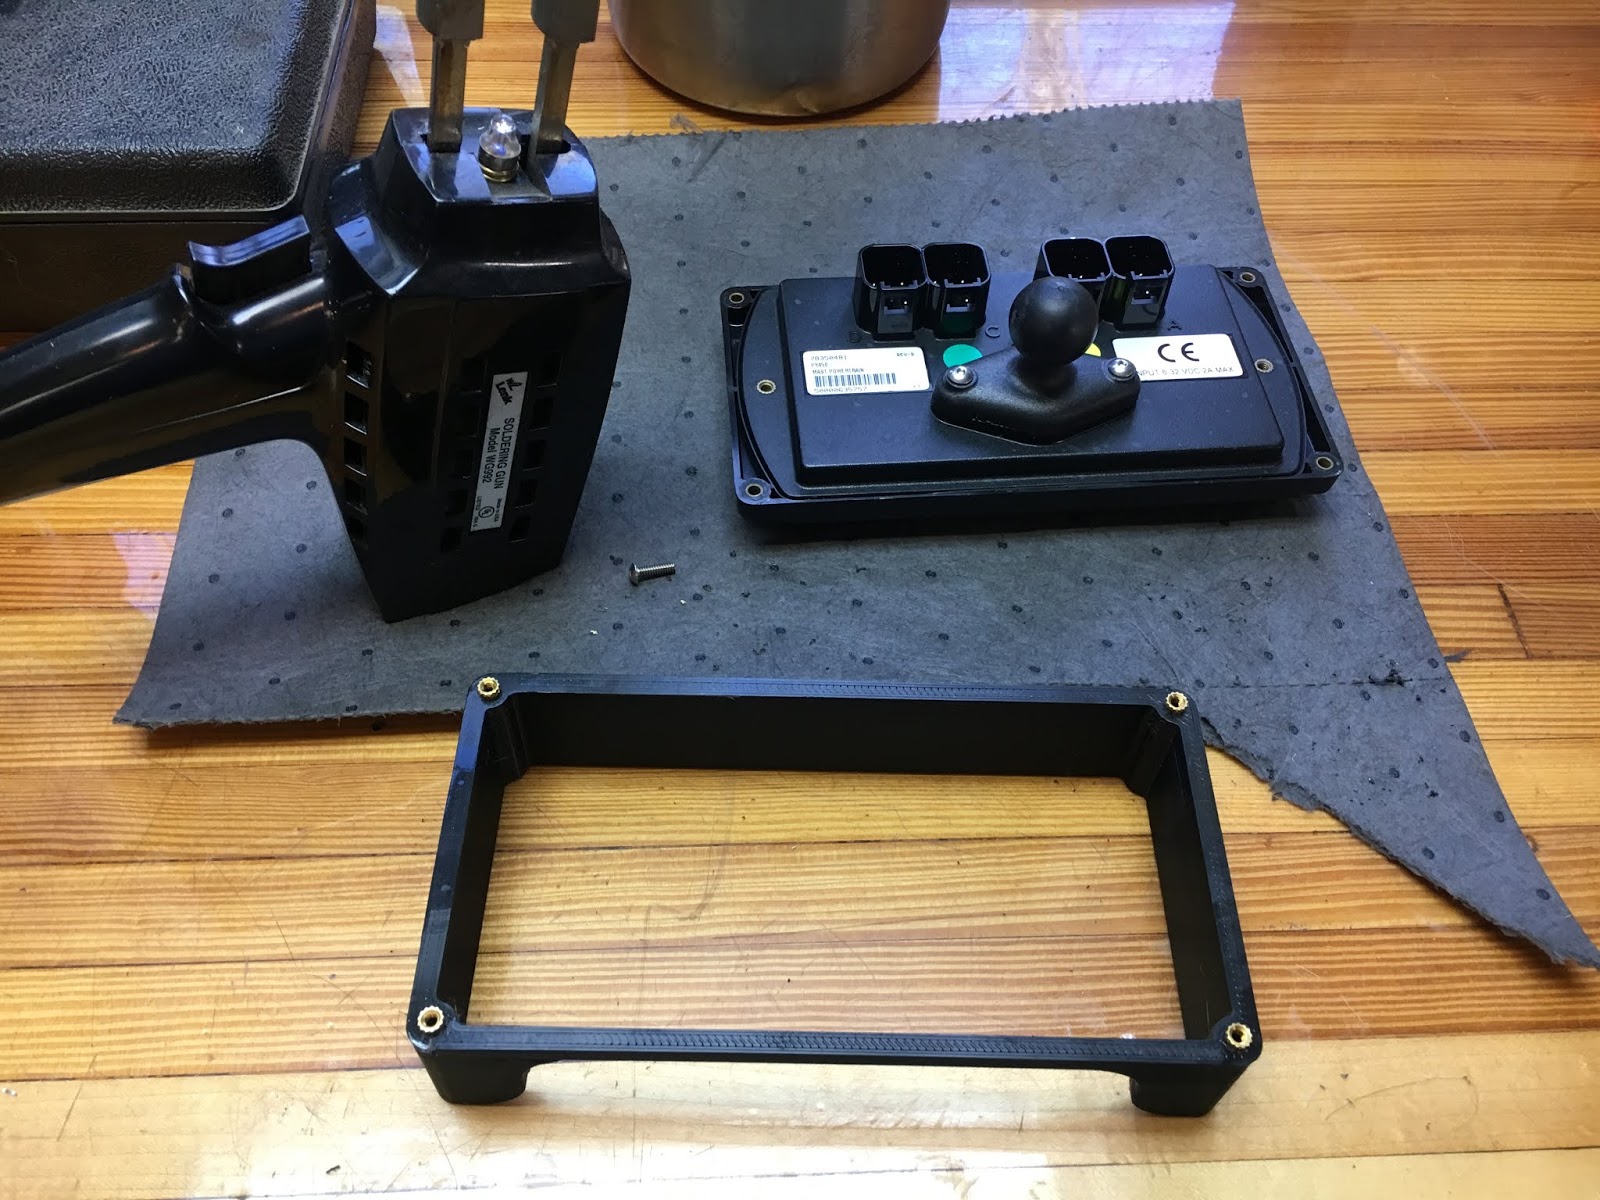
The software for Motus requires a cable that can talk CAN bus. This is a standard for automotive and other applications. 

The cable is made by Ecom and can be purchased HERE

The cable that is supplied needs to have a 3 pin Deutsch connector installed. 

The wiring from the Ecom adapter to Deutsch connector is below. I have a Deutsch terminal set which makes this easy. The two extra wires that are included with the Ecom cable were taped off and left alone. 

A chain and sprocket ratio calculator is used to calculate the speedometer error HERE
Standard gearing is a 2.563: 1 ratio
Modified gearing is a 2.688:1 ratio
The speedometer will need to be modified by 4.877%

The speedo is a magnetic pickup off of a gear within the transmission. The pickup creates a frequency that is converted to a speed. The software setting in the speedometer calibration screen is 39500 that was increased by 4.877% to 41426 as this shaft will be turning faster to maintain equivalent speed. 

A GPS is used to verify the speedometer. It is spot on across all speeds from 5mph-80mph. Motus would use a dynamometer and set the cruise control for this task, but a GPS was an adequate tool.
The gearing is ideal for the use of this bike. Not too tall for around town, not too low for highway speeds. There might even be room for one more tooth in the rear (44), but I am happy with this arrangement. 

Tuesday, April 16, 2019

That was unexpected...

Setting the bike up to be a naked was, as it turns out, the easy part. I attempted to start the bike after fitting the new mufflers...and...nothing. Not exactly nothing, but more like the sound of a bad starter solenoid of clicking and grinding.


Fast forward to pulling the starter...not good. The ring gear that was pressed on the flywheel broke. The noise I heard was not a bad starter, but the ring gear spinning on said flywheel.


Start at the rear wheel and move forward... strip the entire bike up to the trans. Not very difficult as the bike is very well laid out using a handful of tools.

This will give me an opportunity to clean a bunch of areas usually hidden.
 The center stand is attached to the trans, so an A-frame was used to support the rear of the bike. Trans off, flywheel accessible.

Not having to pull the entire engine is a major bonus here. Big props for a thoughtful design.
19mm twelve sided impact socket and the flywheel was off. Now the hard part...

Jack used under engine to steady the bike while the trans was removed.


 The flywheel is at least 3 plates that reduce the power pulses from the engine. This is what makes the racket when a Motus is at idle. Pretty copper plating.

Dual mass flywheel or otherwise known as 'the growler'


One challenge when pressing the plate at the ring depth. The top and bottom of flywheel are flat (bonus), but the ring needs to seat deeper. Stack the broken ring on top of the good ring...solved!

The flywheel looks frosty because it just came out of the freezer...


A bit of trial and error to get the ring to start and seat fully square, then all the way to the rear seat.

New ring gear, ready to go back together.


Taking the bike down to the frame allows for some cleanup. The bike sat for a bit in insurance limbo (outside) before it was sold off. The bike then spent a day in salt (wow, St. Louis goes bonkers when it snows), washed, another 18 hours trailer ride home, wash, then my garage. 

The levers and side stand took a beating. They were not in the best condition BEFORE powder coated from the factory. Some of what you see here was under the factory powder coat. 

Some Jasco epoxy stripper makes short work of just about any powder coating in 15 minutes. Thicker powder needs a few applications. A short time in the sand blaster is next.


The parts were powdered with 13% gloss textured black. Cured at about 400 degrees F for ~15 minutes. Some powder coating tape was used on the pivot brackets and silicone plugs used in threaded holes. 

Some parts are a challenge to coat. Powder is charged with high voltage and 'sticks' to the part. Charged powder doesn't always like to go into recesses or voids...geek term: Faraday cage effect. You can attempt to blow uncharged powder into these voids. 

Some point edges are also a challenge as the powder will build on a flat surface, but move away from a pointy edge. The foot levers would almost be better off covered with 'LineX' bed liner for durability. 


Back together and ready for a test ride. The re-assembly was fairly painless and straightforward. 

Time for a test ride!

Tuesday, April 9, 2019

Dash skirt

The stock display is mounted in the dashboard of the original bike. This is a very rugged industrial display that has a lot of well thought out options. Retaining this display is quite easy for the multiple mounting options given by the MFG...

 The display test fit with Ram Mount fitted to fabricated 'dash'.
 The display fits well integrated into the naked look of the bike, but the back side of the display is a bit unfinished.
 Tight space, but there is room for improvement...


First take on a 3D model...


Revised 3D model with a cutout for the cables/wires.

Holes were drilled for the heated installed brass inserts.
A soldering iron is used to heat up the brass and melt it into the 3D printed skirt. The process takes about 10 seconds with a hot iron.

Very little pressure is needed. The plastic cools in about 10 more seconds for an insert that is very difficult to remove using the 6-32 screws.

Inserts are found in SAE and metric sizes from McMaster
Inserts flush with the surface. Some plastic slag from drilling the holes breaks away quickly.


Display fit and mounted with stainless dome head hex screws


Deutsch brand plugs are used throughout the bike including the display. I have a full set of connectors, crimpers, etc. Very handy for modifications.

A few blank black inserts to fill the unused connectors was in order. I will change out the factory bike connector to black soon.

The black is much more UV stable than the factory grey.
 Display skirt looks pretty good and hides the connectors well.
Works just as intended.

Tuesday, April 2, 2019

intake filter retainer

The stock Motus air intake involves two snorkels that take air from around the head light and feed the K&N oiled filters. They also make great bug catchers.

The original headlight is gone on my bike, so a different filter retention is needed.


 The factory air scoops. These funnel air and bugs directly into the air filters.
 Air intakes off the bike. 


K&N filters attached to the airbox without retainers. Time for some R&D.
 Taking the original scoop and some other dimensions came up with the prototype cover in orange.

The cover will be 3D printed in black with the logo insert laser cut from stainless steel. The insert 'floats' under the retainer.
 Damn close fit except for the corners by the mounting tabs.
 Tab modification is also in order

Research and Destruction...


Second revision of the retainer in black. 
This will be the final look for the retainer. The insert will be stainless steel laser cut.


Filter fits perfect and snug.


Test fitting...

Tabs will need some adjustment to fully cover the insert with bolts in place. Time for a third and maybe final revision.


The end look...starting to come together.


I like getting calls from my laser cutter...


Pretty close to the end product.